Or if you want to listen to it in german, you can find that here: Das gedruckte Velo
Eight years ago, I was in eighth grade, and like most kids that age, I didn’t have much money. But what I did have was coins. Lots of coins. And that got me thinking about how I could make it easier to pay the exact change without having to carry around so many coins.
One Saturday afternoon, while working on a project with my best friend Manuel, an idea struck me: I could create a credit card-sized holder for my coins. So, I looked up the dimensions of various coins on Wikipedia and designed my first 3D model.
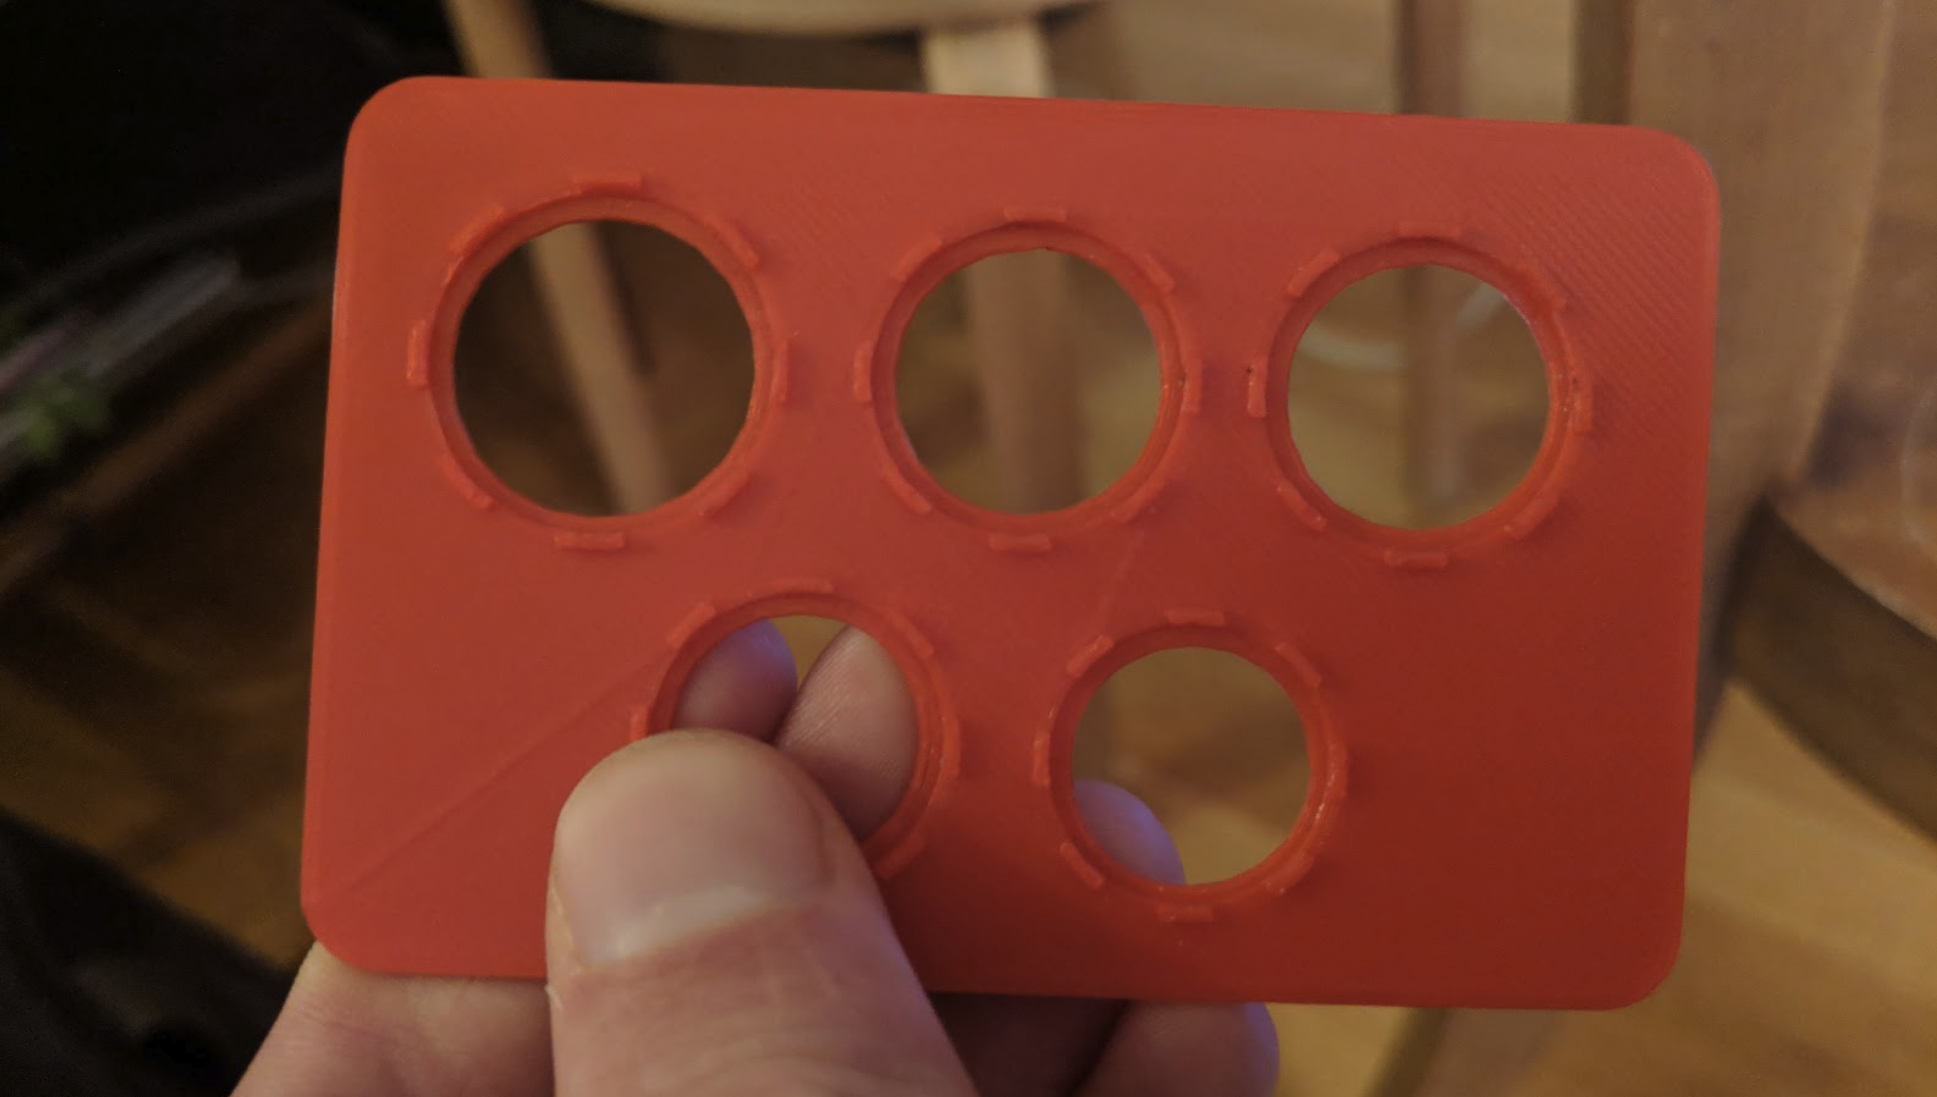
But how could I turn this model into an actual product? That’s where Manuel came in. He told me his father had a 3D printer and offered to print my design. Keep in mind, this was eight years ago, so 3D printing technology was still relatively new and not as widely known as it is today.
For those who are unfamiliar with 3D printing, it works by heating up plastic, pressing it through a small tube, and then building a model layer by layer. The process can take several hours, depending on the complexity of the model.
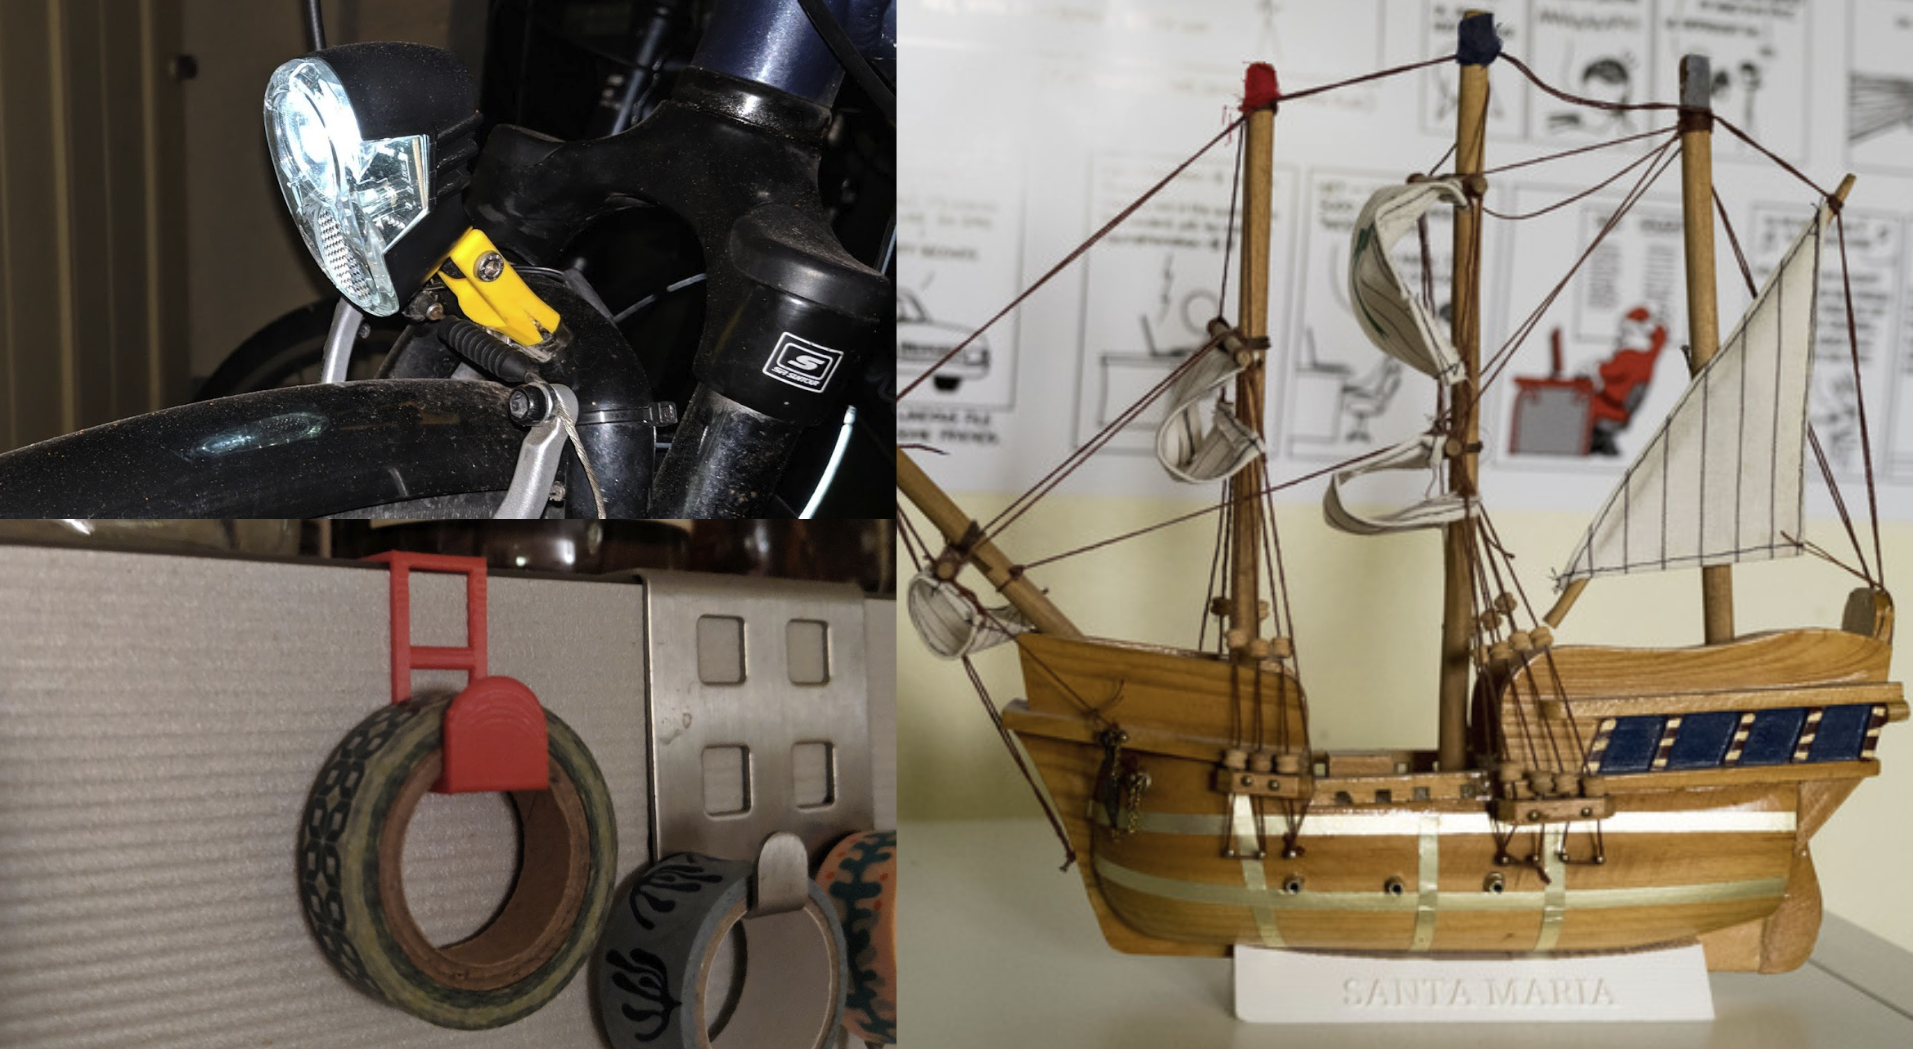
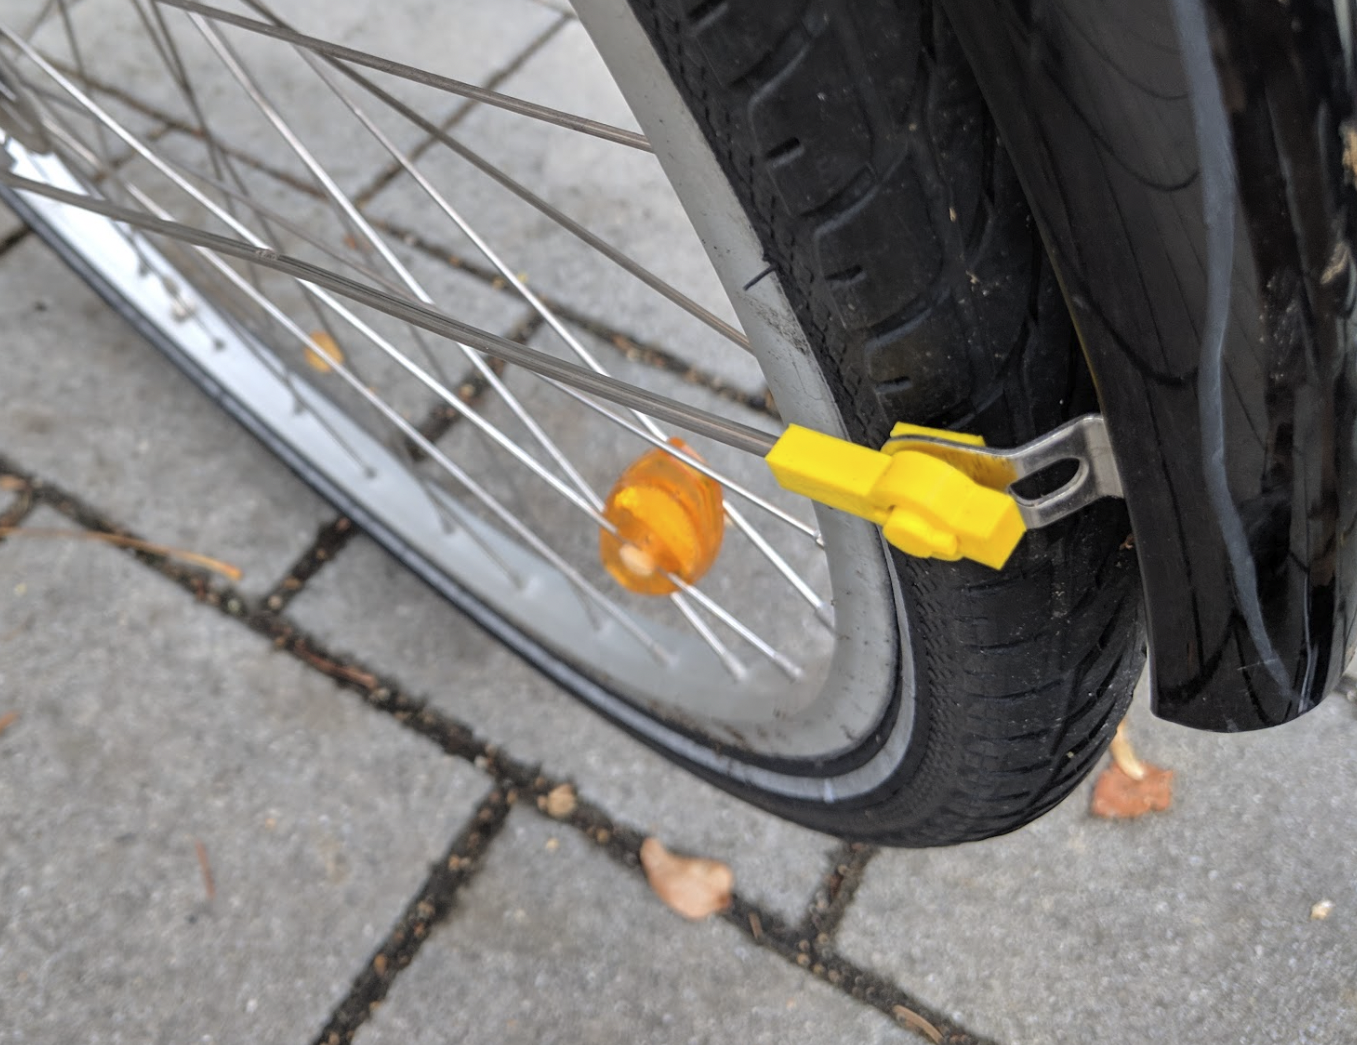
Fast forward to today, and I have my own 3D printer. Over the years, I’ve worked on a variety of projects, including a holder for my bicycle lights, a tape holder to mark glasses at my flat, and a new stand for my model ship.
When I start a 3D printing project, there are typically two scenarios.
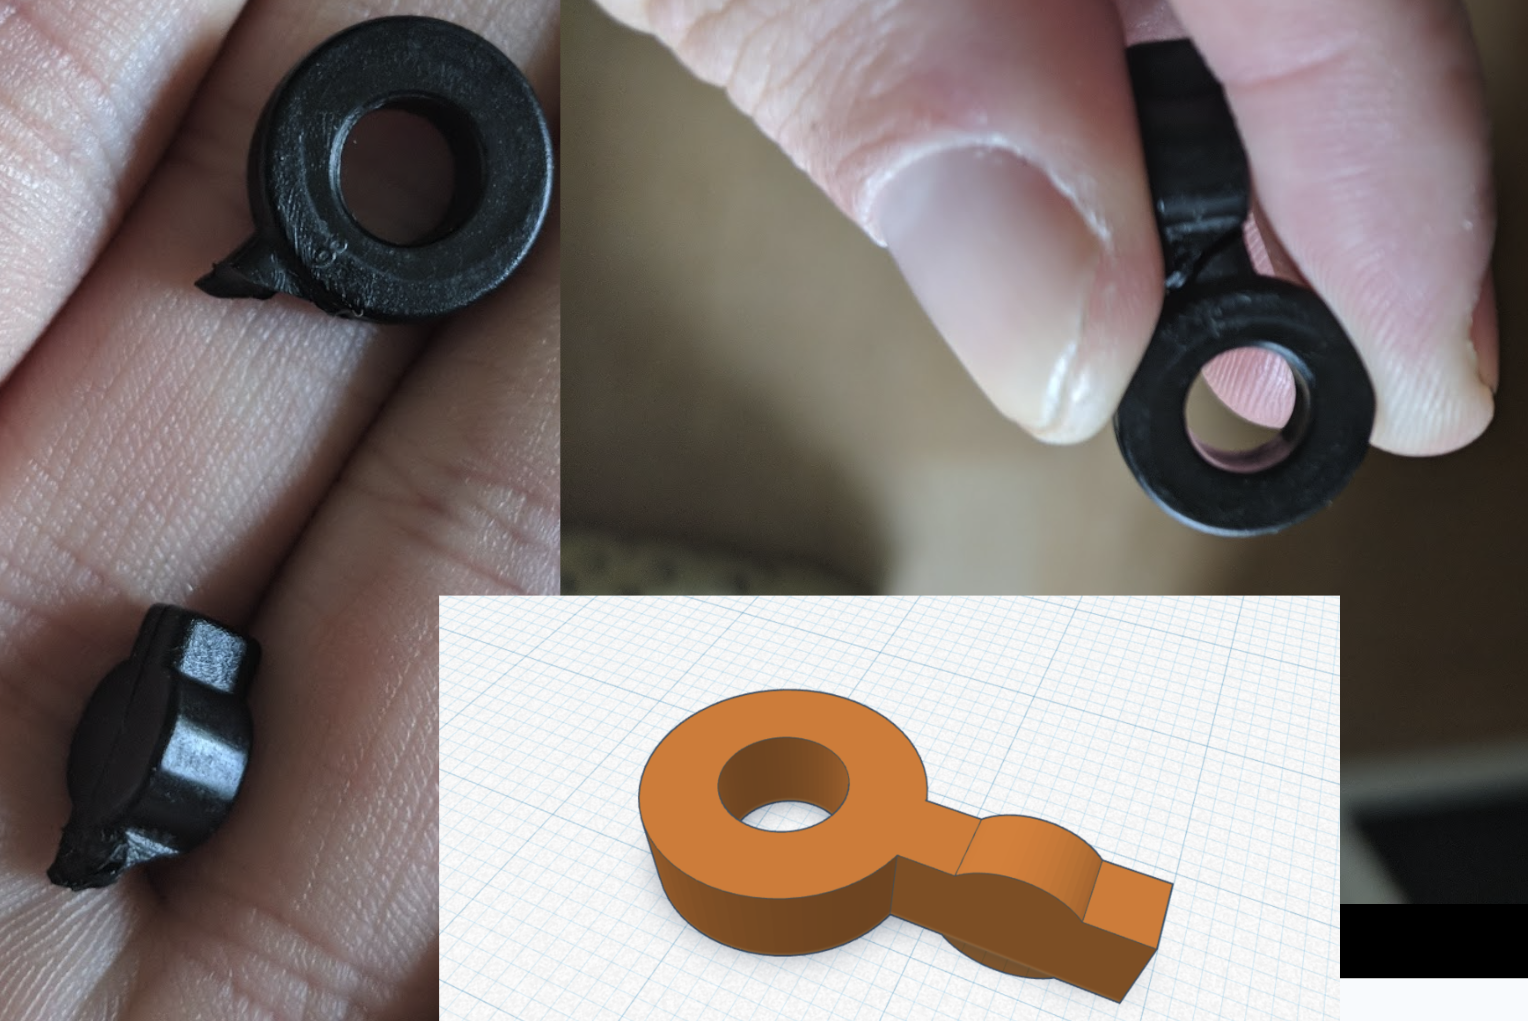
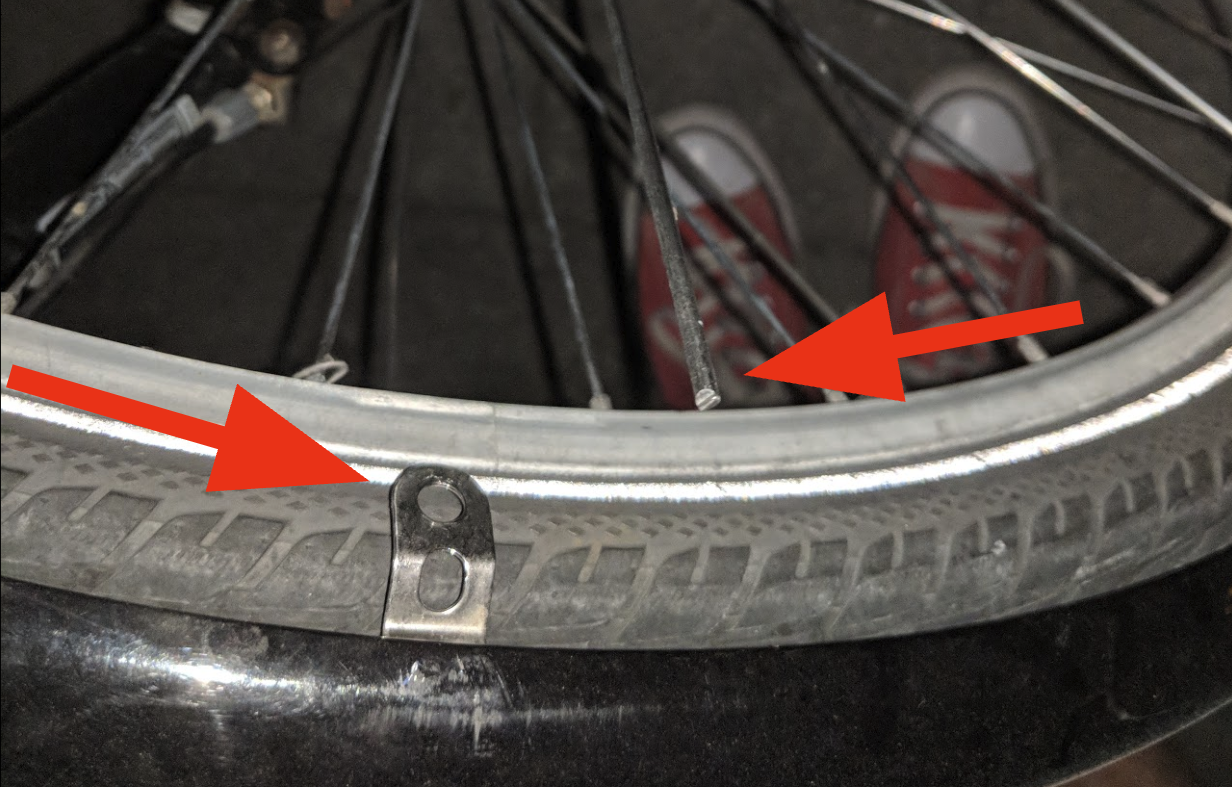
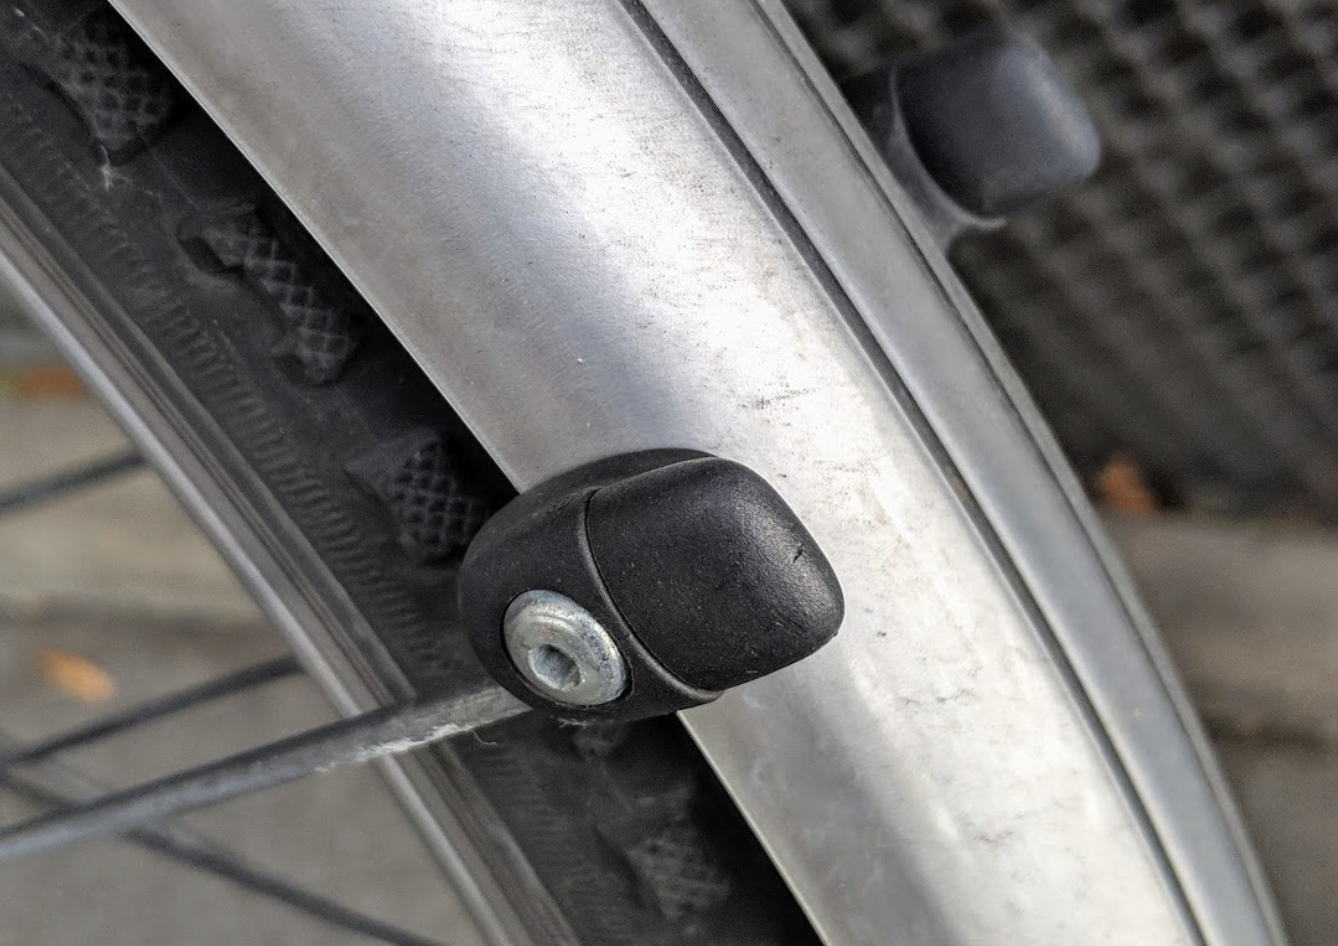
The first is when I need to replace a broken part. In this case, I’ll use a tool to accurately measure the dimensions of the part and then create a 3D model to print a replacement.
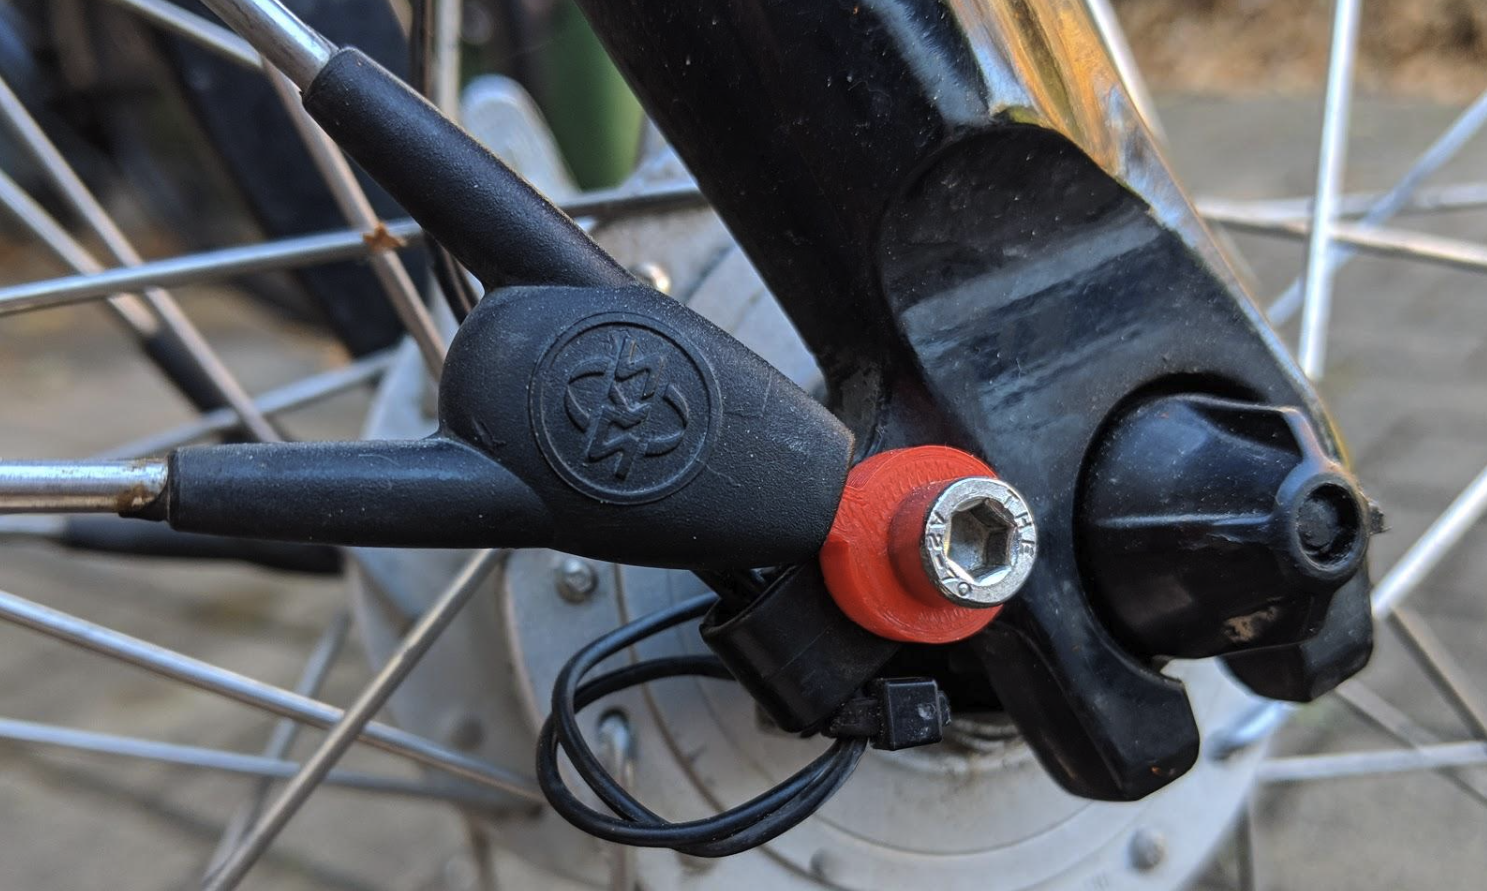
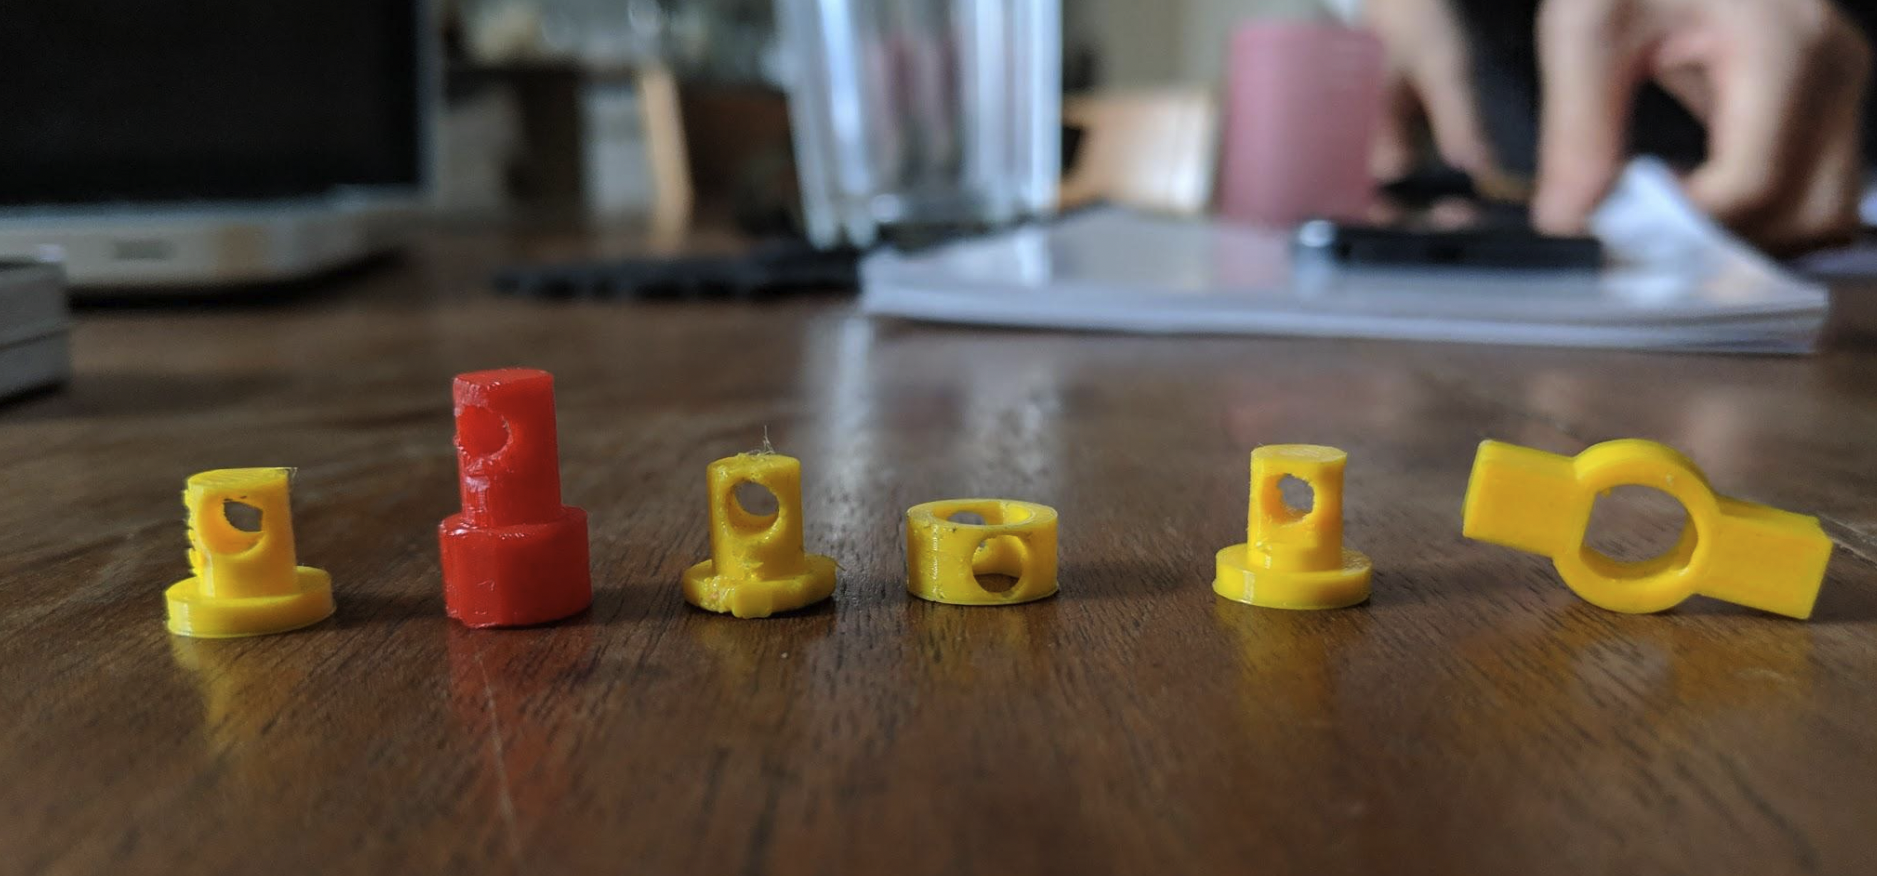
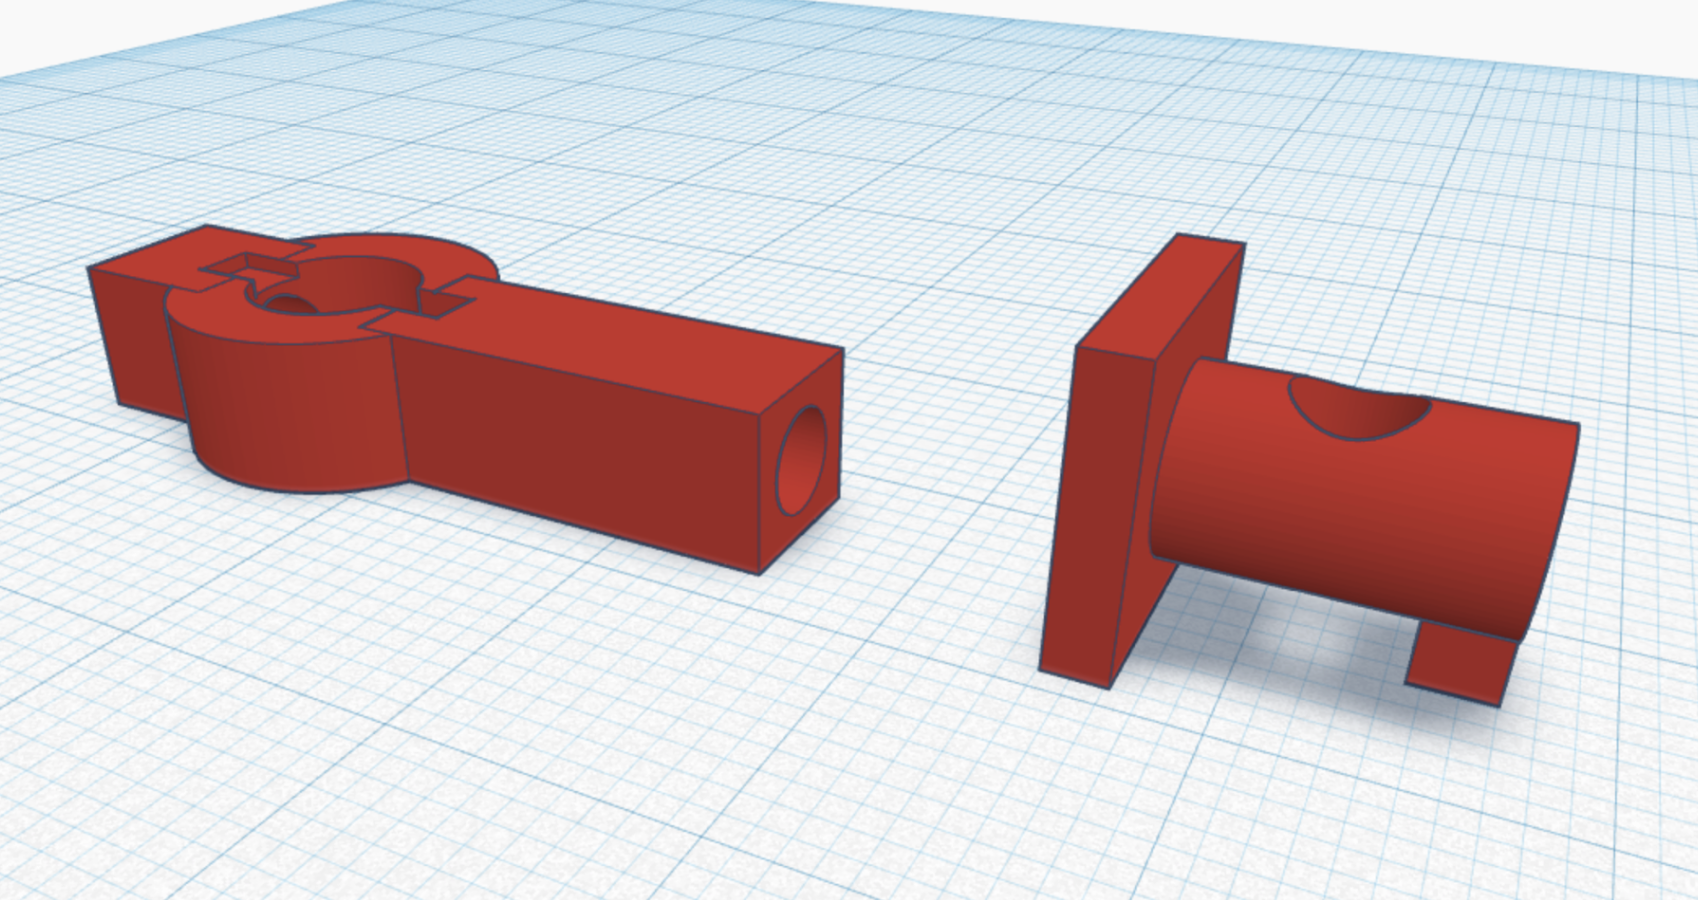
The second scenario is when I need to solve a problem, like finding a way to attach two things together. This usually involves building and testing multiple prototypes until I arrive at the final, functional solution.
If you’re interested in getting started with 3D printing, there are three options to consider:
1. Buy a 3D printer: Prices are becoming more affordable, and the technology is more user-friendly and reliable than ever before.
2. Rent a 3D printer: Workspaces like FabLab in Bern offer 3D printer rentals by the hour, allowing you to experience the satisfaction of seeing your ideas come to life.
3. Use an online service: You can upload your 3D models to an online service, and they’ll print and mail the final product to you. This option is less hands-on, and the turnaround time can be a few weeks.
So go ahead, chase your creative ambitions, explore 3D printing solutions, and have fun shaping out your visions.