So, the last part covered buying the 3D printer. What about the second part, creating a model?
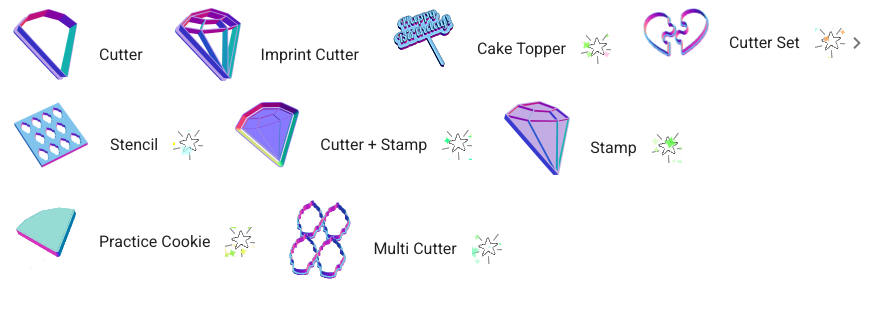
You can of course start with ready-made files and look for stamps or rollers you like. In Part V, I’ll share a list of nice things you can 3D print for pottery.
Where to get ready-made files you can print
If you are looking for ready-made printable 3D models, check out Thingiverse, MakerWorld, Printables by Prusa, MyMiniFactory, Cults3D, Thangs, Creality Cloud, and CGTrader.
In the last article of the series, I’m going to share a list of useful, or not so useful, things you can print for pottery.
Now, if you want to create your own custom stamp, the first thing you need is a 2D image.
Creating a 2D image
Since we are starting with stamps, we first need a 2D image that we want to turn into a stamp.
And even for that, I’ve got you covered.
We can use Canva, which has lots of images and icons, and an interface that is easy to use. There are some limitations when exporting in specific file formats or using many elements in one design though, so for more advanced use you may need the paid version.
For smaller corrections, I often use Photopea, which is an online version of Photoshop. It uses many of the same shortcuts, which makes it especially nice if you are already used to Photoshop.
If you want to generate variations or get new design ideas, I often use the OpenAI Sora image generator. You can also use this inside ChatGPT, but generation might stop if you close the page.
Sora is also useful if you want to convert an image into a simpler black-and-white version or into a specific style. Here is a prompt I use that works pretty well for converting images into black-and-white drawings that can then be used with the tools below. (Stolen from Hacker News)
Make this into a black white drawing. Bleed all the way to the edges. Background colour is #ffffff and lines are bold and #000000. There is no shading or cross-hatching.
For icons, I often use the Noun Project. It offers a large number of icons in SVG and PNG format, which makes them convenient to use. If you want a royalty-free licence without attribution, you will need a paid plan.
You can use Potrace to convert raster graphics into SVGs, although it only works for black-and-white images. There is also an online PNG-to-SVG converter from Adobe that can handle colour images: Adobe PNG to SVG converter.
Creating a 3D model from a 2D image with simple tools
There are multiple ways to create 3D models from 2D images. Each has its own pros and cons.
Stampfactory

There is Stampfactory, where you can upload a raster image and it generates an STL for a stamp, stencil, or badge. It is easy to get started, but it does not work equally well for all kinds of images, as you can see in the error above.
Cookiecad
There is another app called Cookiecad. It was originally made for creating cookie cutters, but it also supports other variations.
Some of the cutter types and options are only available in the paid version, but the standard cutter is free.
Lithophane Maker to create rollers
If you want to create a roller or a curved stamp instead, there is a lithophane maker that can be repurposed for that.
Another lithophane tool is: https://3dp.rocks/lithophane/
Creating a 3D model with CAD
If you want more control, you can also use CAD tools instead. They give you more freedom, but they also require more work.
A tool that is nice for beginners is Tinkercad. It is an online 3D modelling program that can be learned quickly, but it also has some limitations if you want to create more complicated or even parametric models.
One important thing to know is that if you want to import SVG files into Tinkercad or other tools, it is a good idea to first open them in Inkscape and convert the objects into paths. This reduces the number of SVG-specific features and makes the files more likely to import successfully.
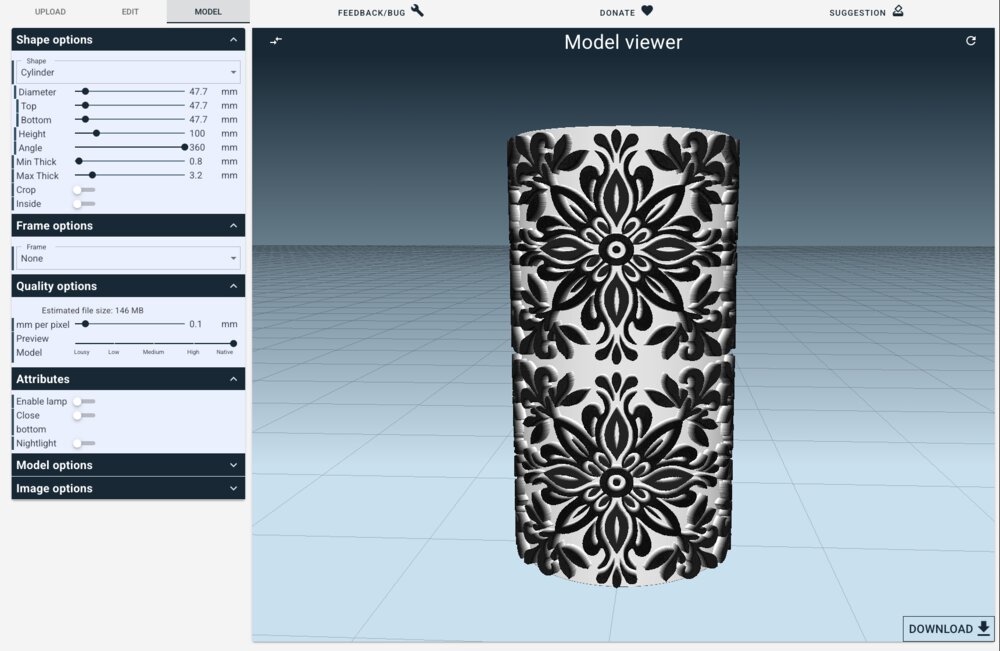
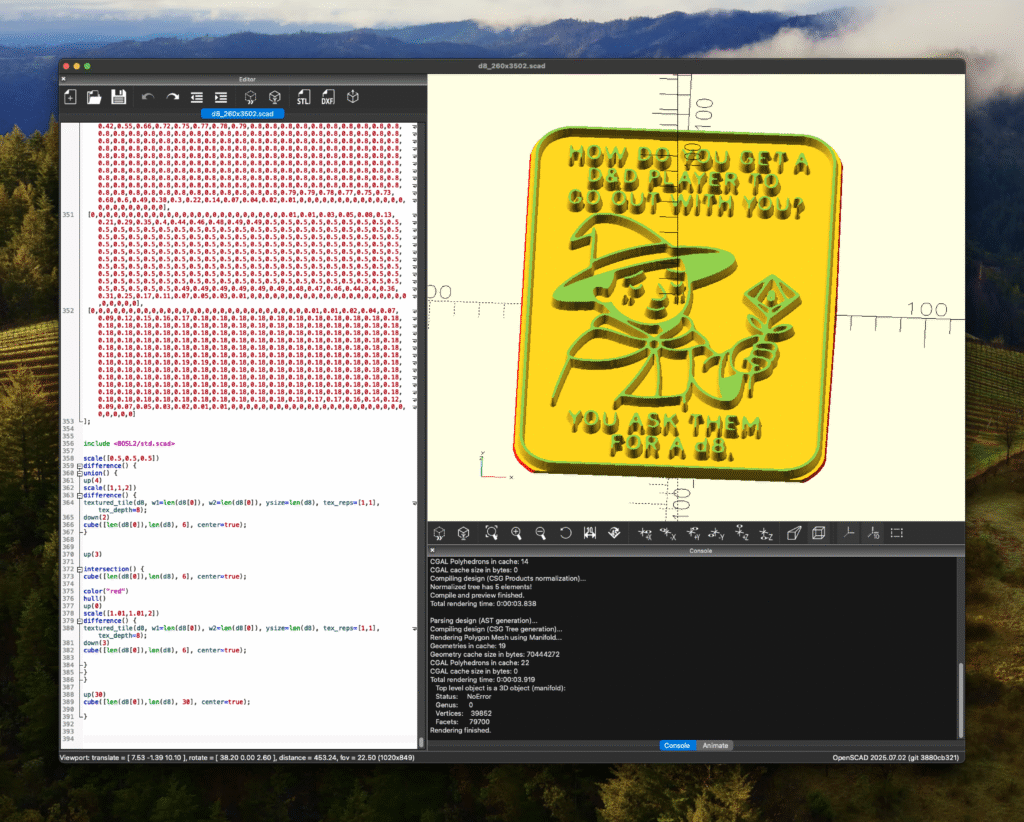
If you want to create parametric models and hate yourself, you can learn OpenSCAD. With OpenSCAD, you can write code to generate models.
Here you might benefit from using the BOSL2 library, as it includes some nice features that make 3D modelling easier. Especially the texturing can be useful after converting an image into a 2D heightmap.
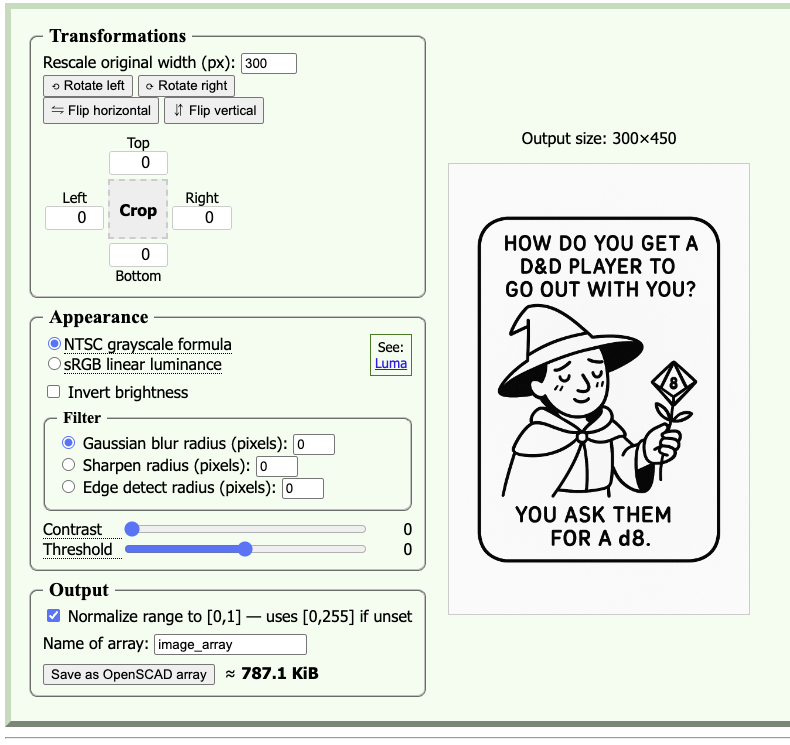
There is an HTML file in the BOSL2 repository where you can upload an image and generate the heightmap.
Unfortunately, the generated OpenSCAD does not create a ready-to-print stamp right away, and the tool is not hosted online. So I forked it and made some modifications so that the generated file contains code to create a stamp. I also added an auto-crop feature that removes white space around the image automatically.
I published my adapted version here: https://nahakiole.github.io/image-to-openscad/
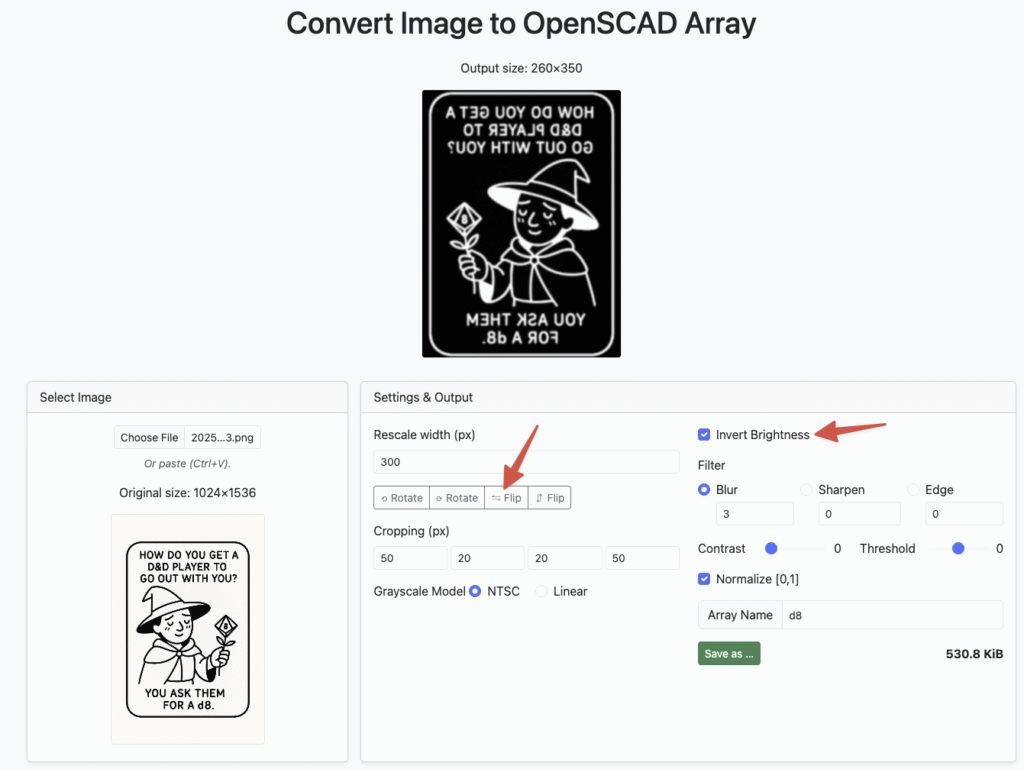
Do not forget to flip the image and invert the brightness, because the white parts of the image will be higher than the dark parts in the generated model. You can also mirror the model later in your slicer, just do not forget to do it, otherwise your stamp will not work.
When you open the generated file in OpenSCAD, you get a ready-to-print 3D model, which you can export as an STL and then print.
Printing the model
Once we have the model file ready, we get to the part where we can print it. This process depends a bit on your printer. Here I will talk about Bambu Studio, because that is the slicer I used.
There are of course other slicers for other printers, such as Cura, PrusaSlicer, and more.
To get started, we can drag the STL or other 3D model file into Bambu Studio.
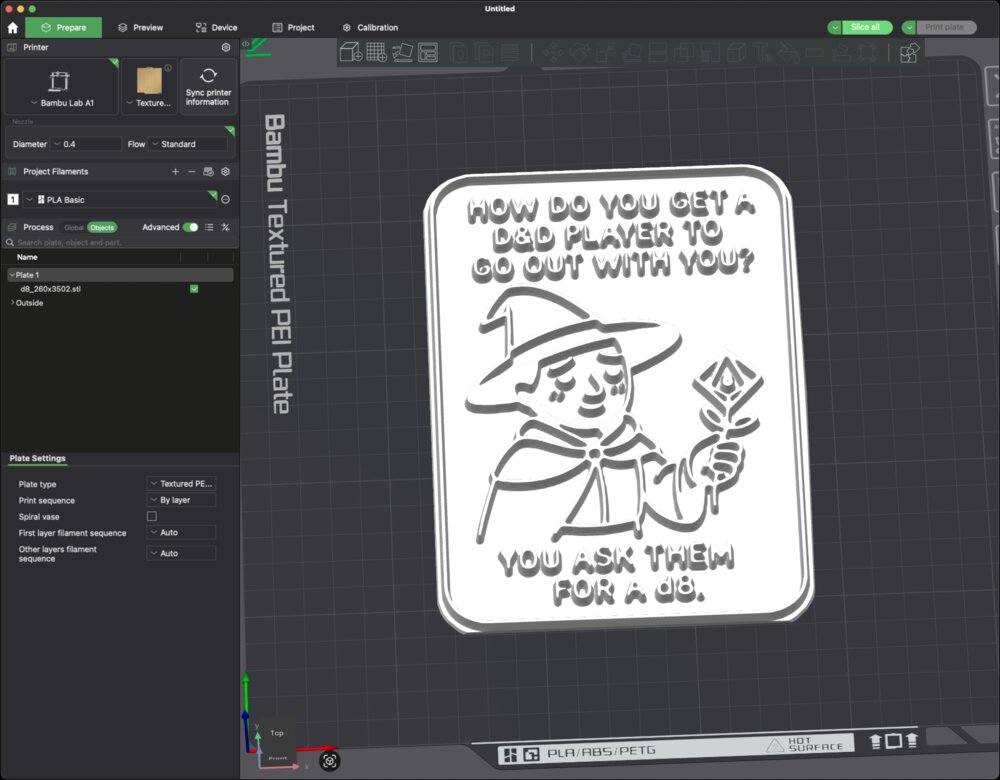
Can you guess what is wrong in the image above?
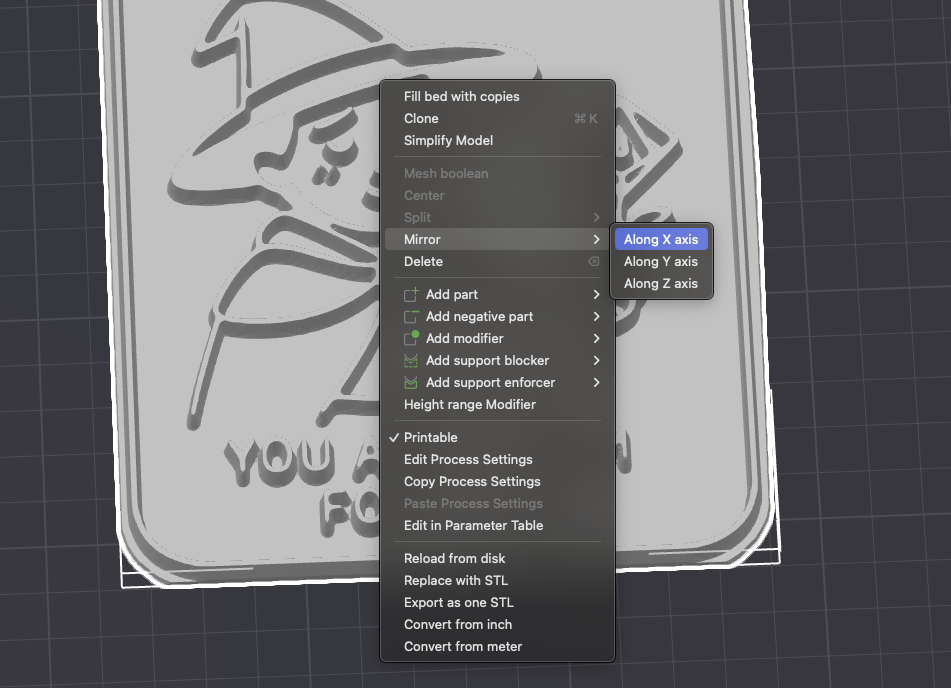
Exactly, we need to mirror it, otherwise it will not work as a stamp.
A nice feature of Bambu Studio is also the Simplify Model function.
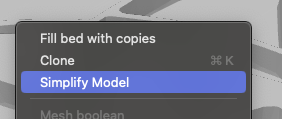
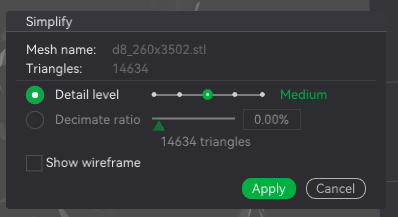
This can reduce a 23 MB file to around 700 KB. Even if you do not use a Bambu Lab printer, this function can still be useful for making files smaller. I am looking at you, Cura, which can take quite a while to slice large models.
I do not want to repeat everything from the Bambu Lab wiki here.
The other parts:
- Part I: Backstory
- Part II: What 3D printer should I get?
- Part III: The computer part
- Part IV: The pottery part
- Part V: Useful things for pottery you can 3D print